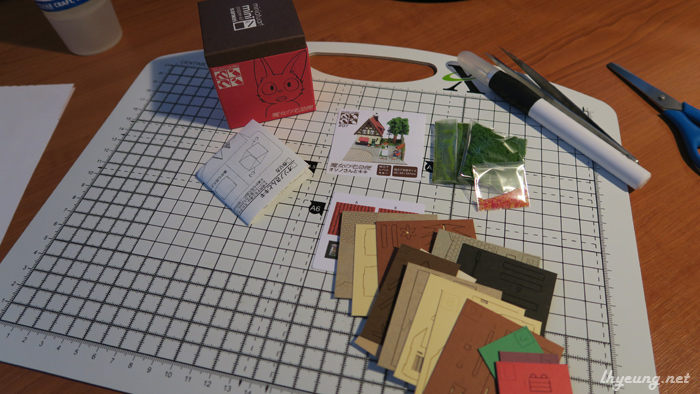
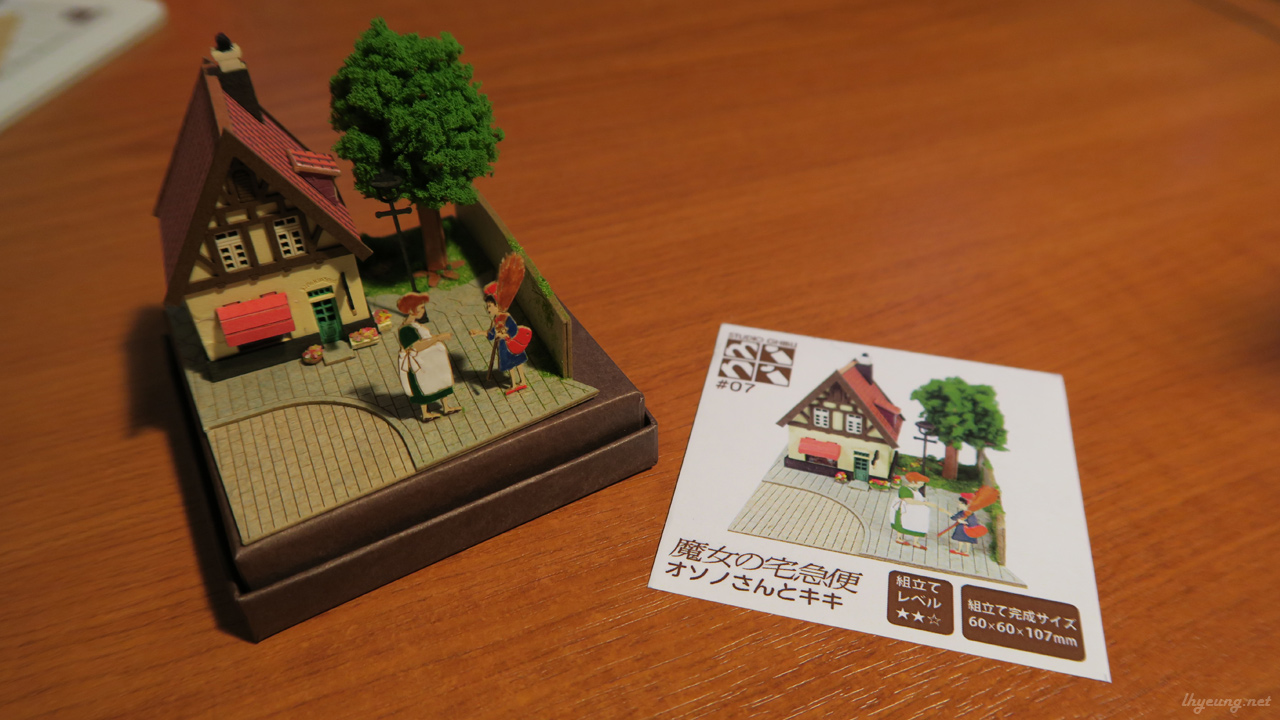
Sankei Miniatuart Ghibli Papercraft – No. 7 Kiki's Delivery Service, Mrs Osono and Kiki
Almost built all the Ghibli Sankei papercraft models I bought from my first trip to Japan now. Last time I built the inside of the bakery from Kiki's Delivery Service. This time it was going to be the outside.
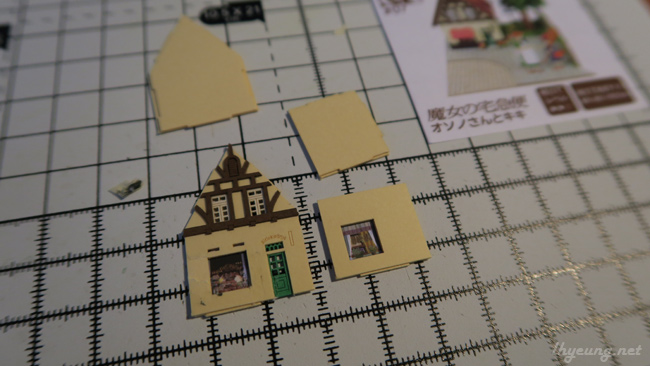
So first off, we're going to be building the biggest object the bakery building first.
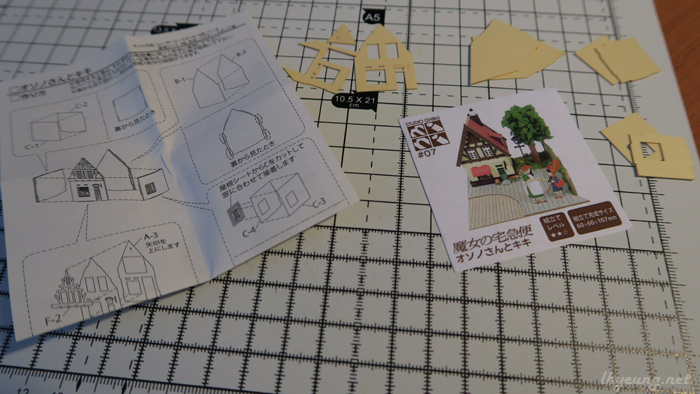
Seems easy enough with these large pieces but the walls are made of two layers and it can be quite tricky aligning them. You might also need something heavy to keep the pieces under so that they're glued together firmly or hold them together for a few minutes.
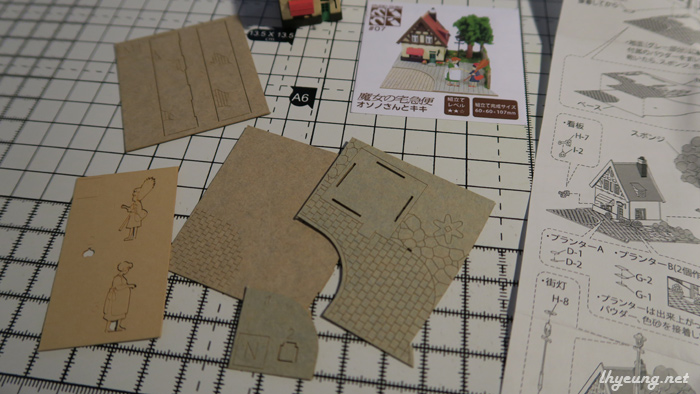
Bakery building is actually made up of a lot of pieces...
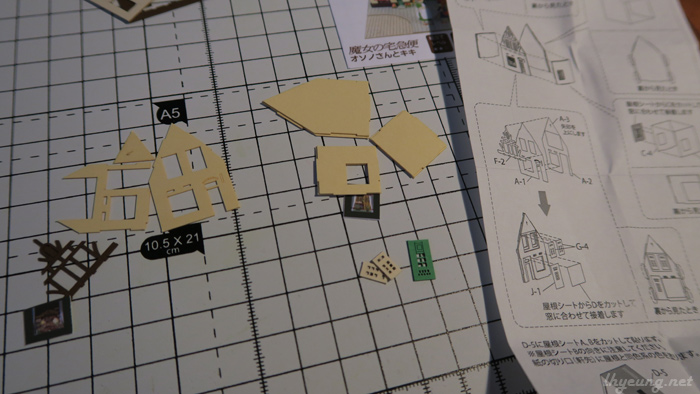
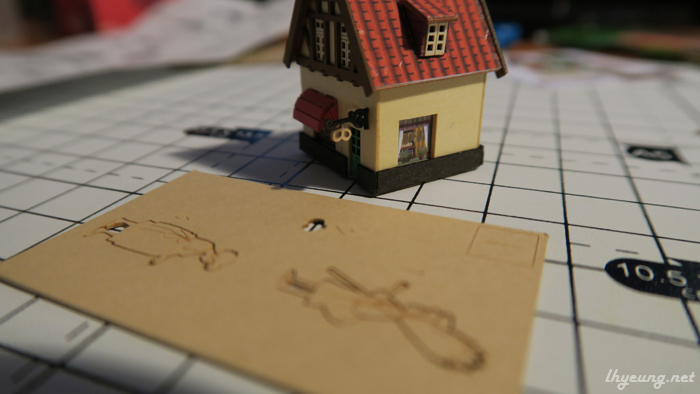
Sticking this upper brown frame on was quite tricky because it's so thin to spread glue on. There's a few images you cut out that you stick on the windows which probably can't make out from the cover photo! As with the other models, you can use one of the cards as a guide to help cut them out.
Unfortunately I stuck the main photo on the wrong side of the front wall and since some of the glue had settled, it tore off a part of the card when I pulled it back off... =(
Well, not much I can do about it now. Hopefully it doesn't stand out too much after everything gets put into place.... Onto the roof and the bottom side panels.
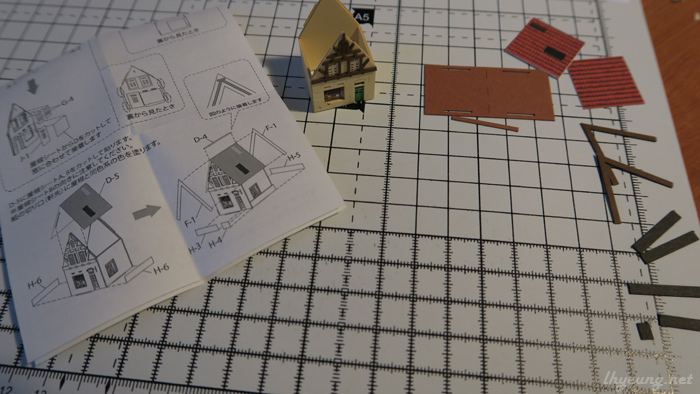
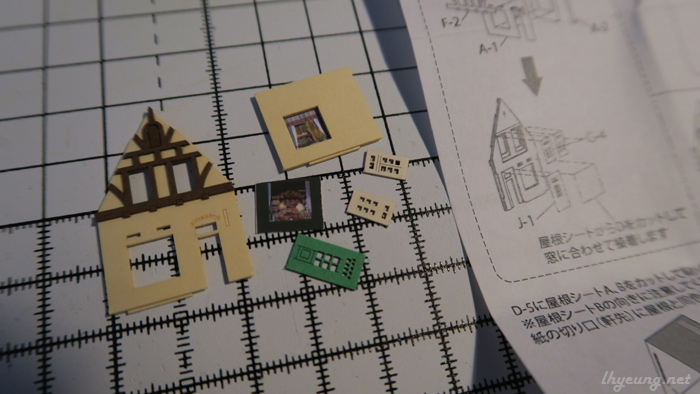
Yup, the building is definitely very time consuming, lol. Now for the chimney, window and the awning.
This part's actually very tricky because of the size of the parts. Be prepared to get glue all over your fingers as you paste the layers of card together! Would probably be a good idea to have some wet tissue or cloth to wipe your fingers afterwards.
The awning's probably the hardest part to put together because you have to bend the card so that create a curve that matches the two side pieces. Not to mention putting tiny, tiny bits of glue on. It's not much different for the window either which takes a lot of careful nudging about to get the parts in place... Will really need tweezers for this.
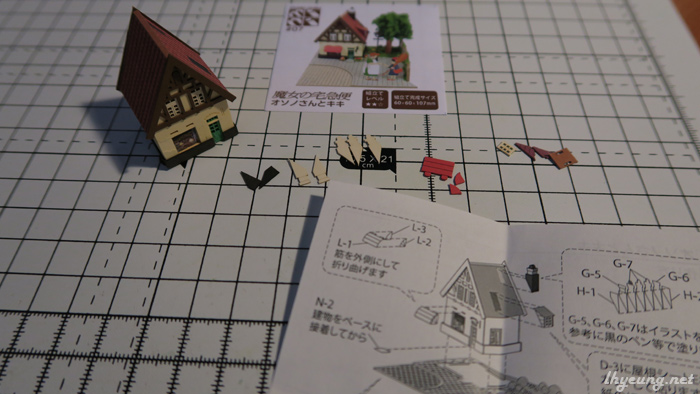
Chimney was probably easiest since it's just pasting 7 pieces of card together then adding some black to the white card yourself. Strangely enough the black card looks brown in the reference photo... Someone must have forgotten to do some colour calibration on their monitor ^^;
Gluing the parts onto the building takes some time too since you'll probably have to hold the pieces in place a minute or two while the glue dries enough to stay in place. Especially the awning since it's a bit elastic thanks to the bent card.
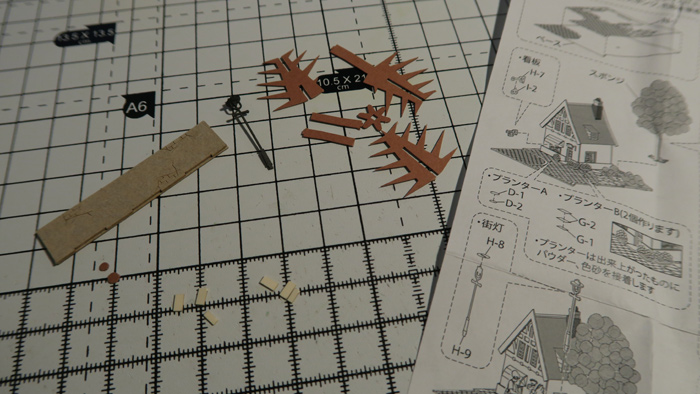
Then there was the hanging sign outside which, like the flower in the last Kiki model I built, literally only needs a touch of glue. Will definitely need tweezers to adjust it.
Now we can finally move onto the base and the other remaining objects.
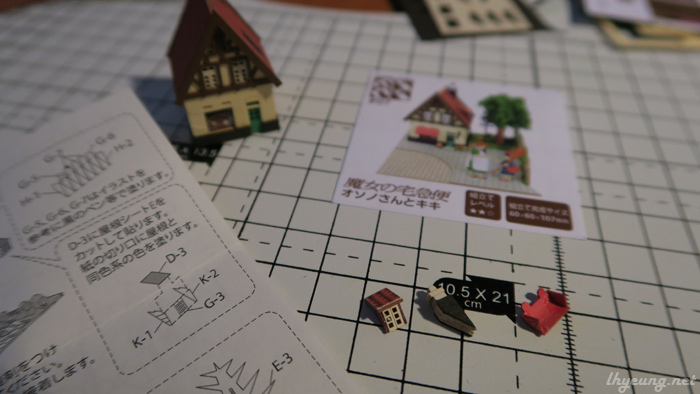
As usual, the characters need some colour. I decided to try a different set of pens this time since the markers I've been using for the other models are too thick and "bleed" on the card too much. So I got these 0.3mm Staedtler Triplus Fineliners instead. Much easier to work with although I think the colours could have been better.
Also got a white pigment ink pen to use instead of a white colour pencil. If you have a correction pen it would probably work too. You'll need it to add white to the lamp post light bulb yourself too.

The flower pots are a bit tougher thanks to their size and also aren't pieces of card like the last Kiki model so I had to hold them with the tweezers while applying tiny touches of glue.
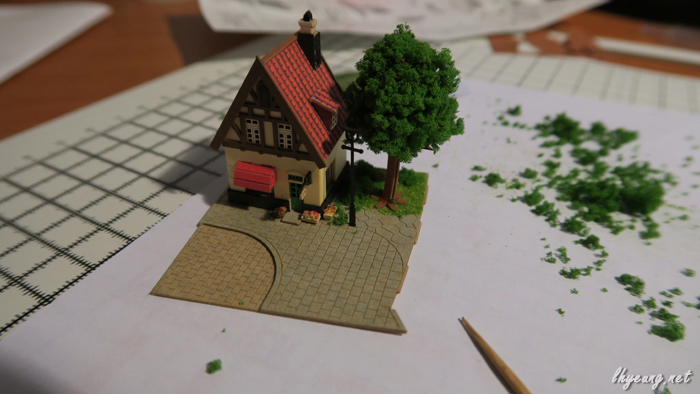
For the tree, grass and flowers I pretty much used the same procedure as I did when I was building the Totoro model.
However, the downside with this technique is that the splodges of glue can make the trees heavier and hard to stay up. I ended up putting a splodge of glue at the trunk just to keep the tree standing upright so don't overdo it or, just go back to pasting bits on at a time ^^;
As with other models full of greenery, it's up to you how you decorate the area surrounding the tree and the wall itself of course. I chose to have some bushes next to the flowers.
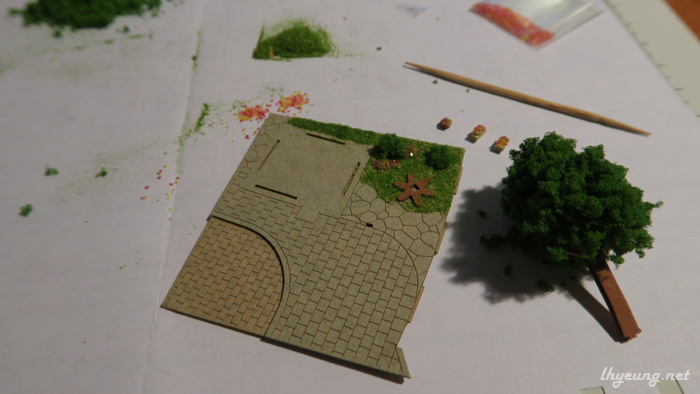
They actually designed the tree so that it's smaller on the left side and doesn't hit the bakery so make sure you don't add too much on that side. If you add too much it'll make adding the lamp post in very difficult so make sure the green sponge isn't obstructing.
There's no exact scene from the movie but you'll probably remember the scene when Osono and Kiki first met.

Then a shot of the bakery itself much later.

So we are finished!This was probably the toughest model I built so far taking almost 11 hours to build. The last Kiki model wasn't this hard and it was a 2 star too!
I think it was a lot more time consuming because there was a lot more pieces to align and slot into place including the flower pots.
Well, the upside is the ripped wall on the left doesn't look too bad with the full model finished ^^

No comments