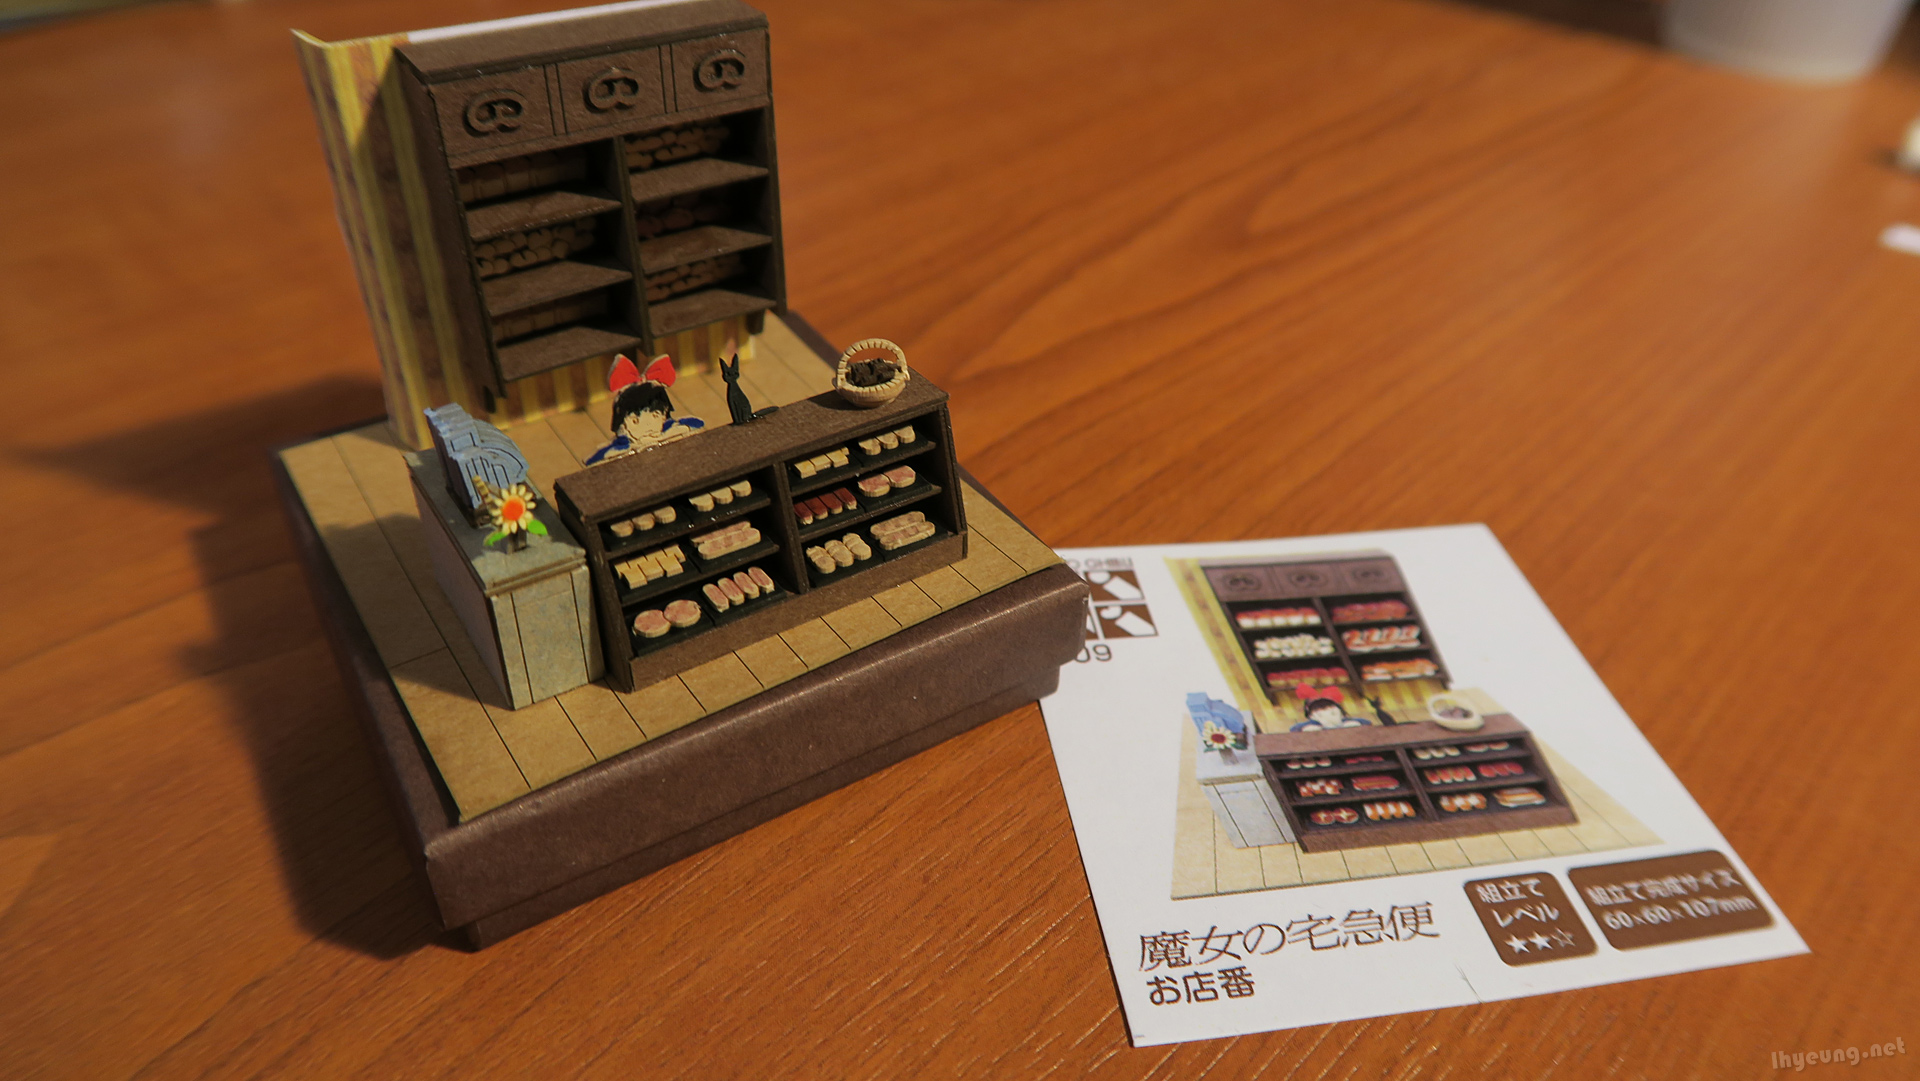
Sankei Miniatuart Ghibli Papercraft – No. 9 Kiki's Delivery Service
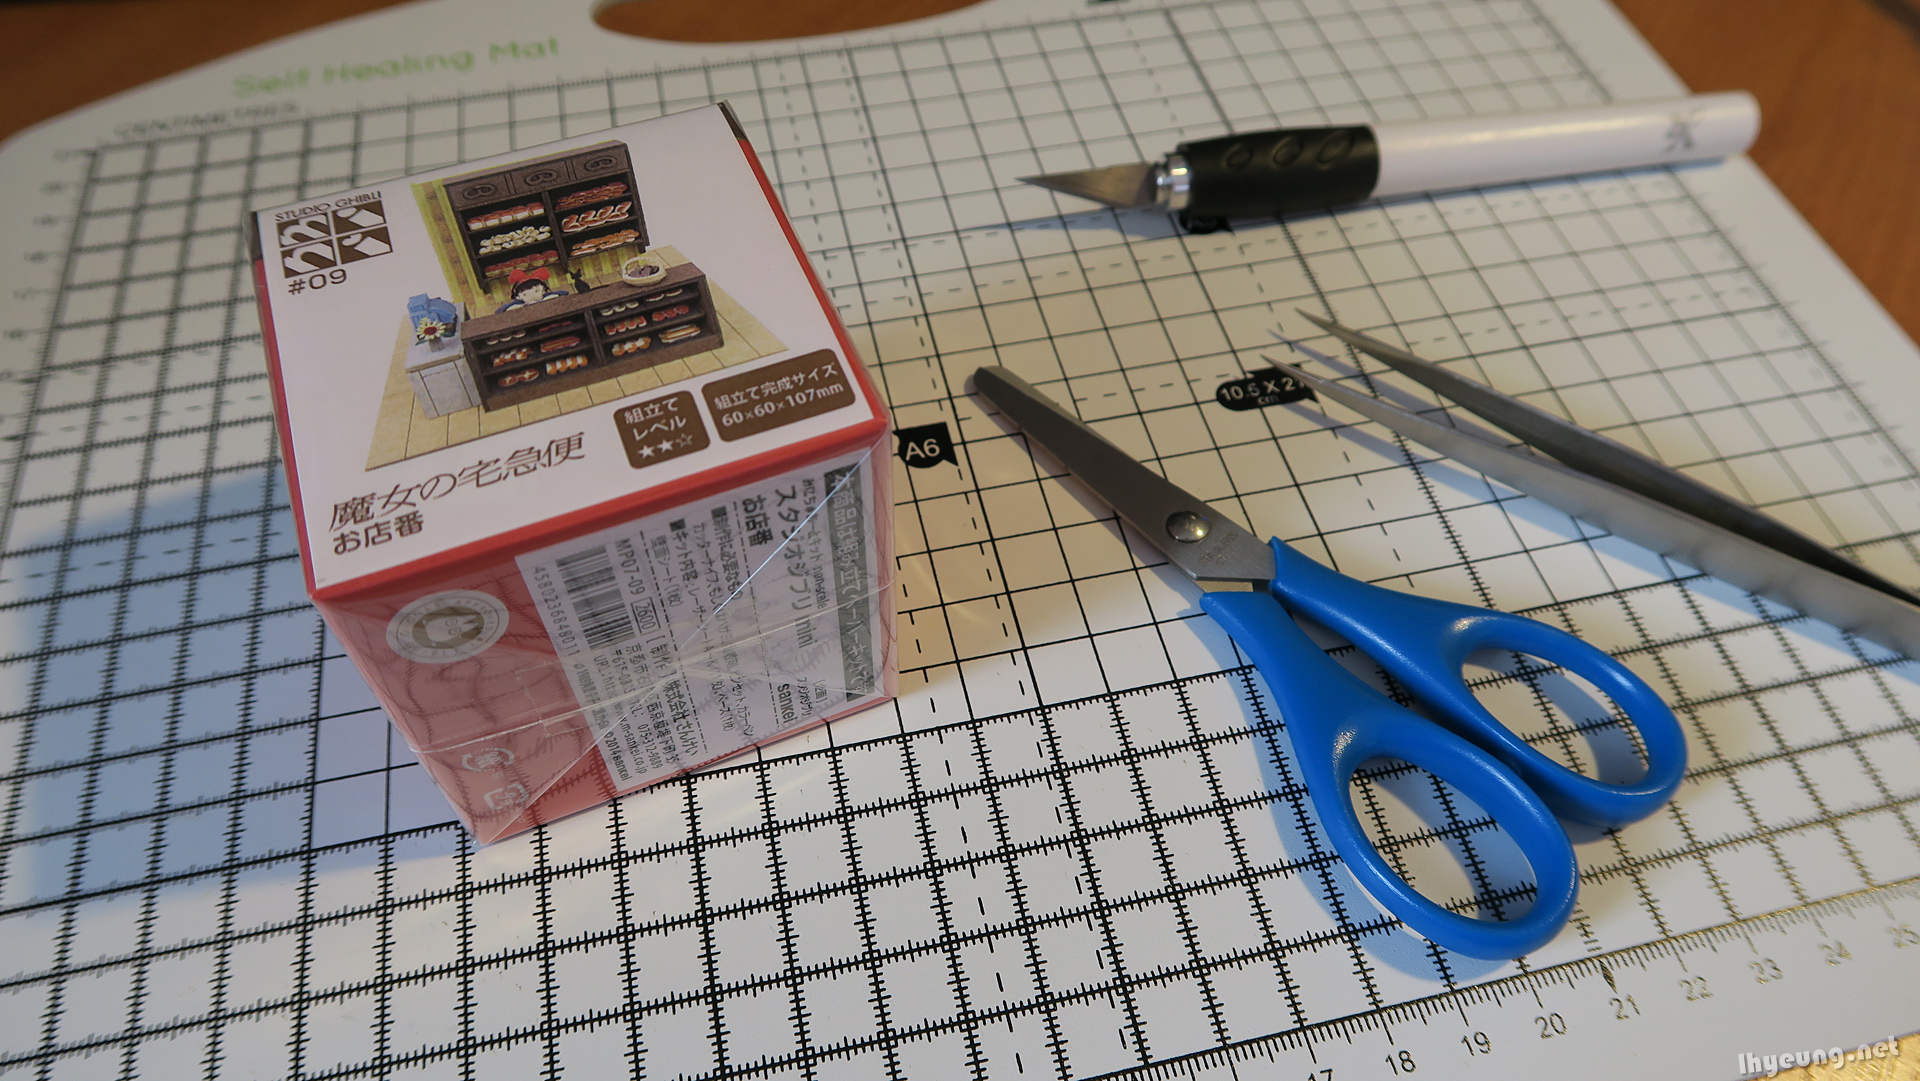
This is the second papercraft I did rated at 2 stars complexity. Maybe that's why it took an extra 2 hours to do compared to the Totoro one totaling 8 hours.
No powdery or sponge bits to mess with this time.
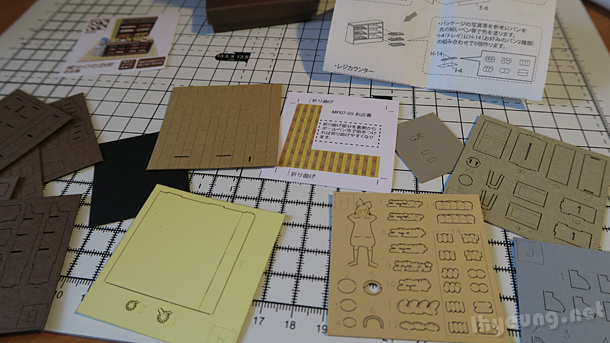
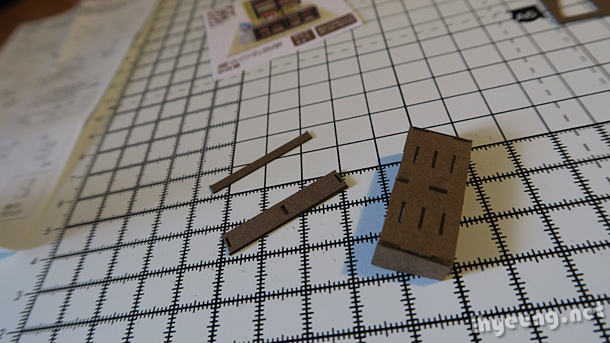
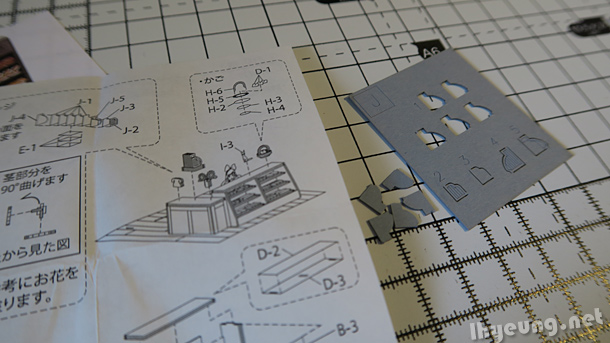
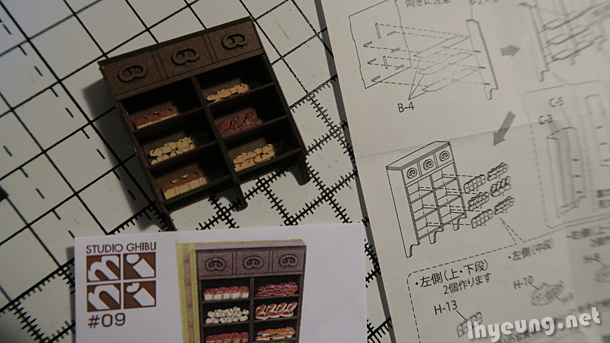
Decided to start off with the shelves since they looked to be the easiest. They were all large pieces while most of the other parts where tiny objects.
I recommend you don't cut all the pieces out at once or you might end up gluing the wrong parts together. Very important for those side parts because they act as the joints for putting the whole thing together.
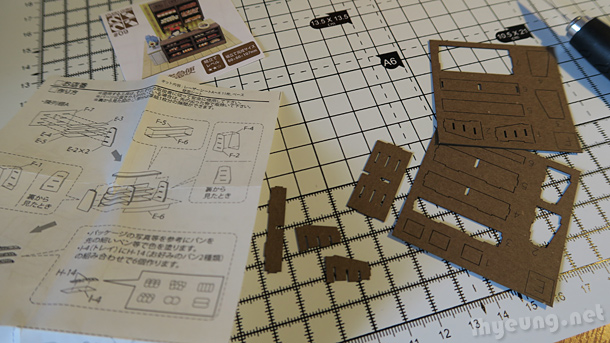
They might look simple but if you've ever assembled a real life one, this is very similar... Putting one together takes some time trying to align all the slots.
You'll probably have to spend some time nudging the pieces carefully to slide them into place.
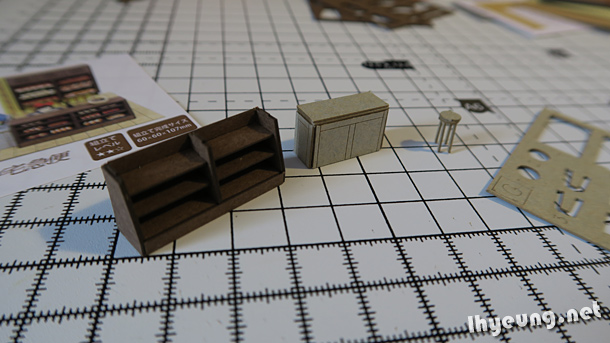
Was quite difficult sticking the legs onto the seat but that's where tweezers come in. So fragile, lol.
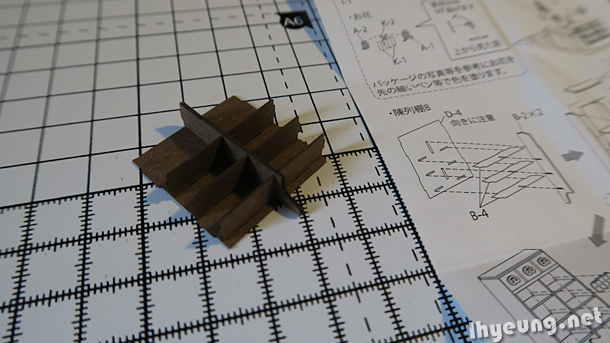
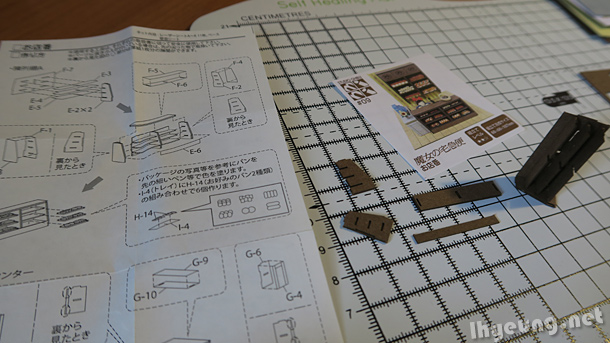
Now for the big wall mounted shelf at the back, I suggest you keep this part separate for now if you want your finished model to look good. I'll explain why later.
Takes some extra work to get papercrafts looking good in 3D. These little parts reminded me of Pretzels, lol.
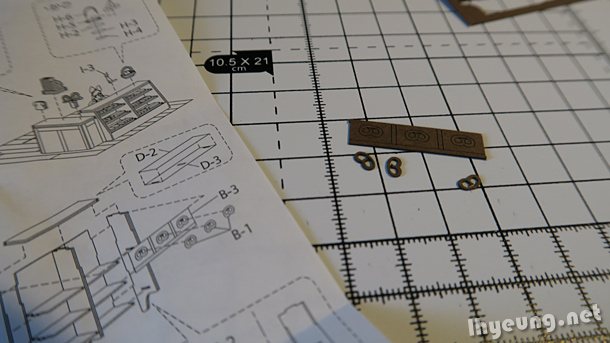
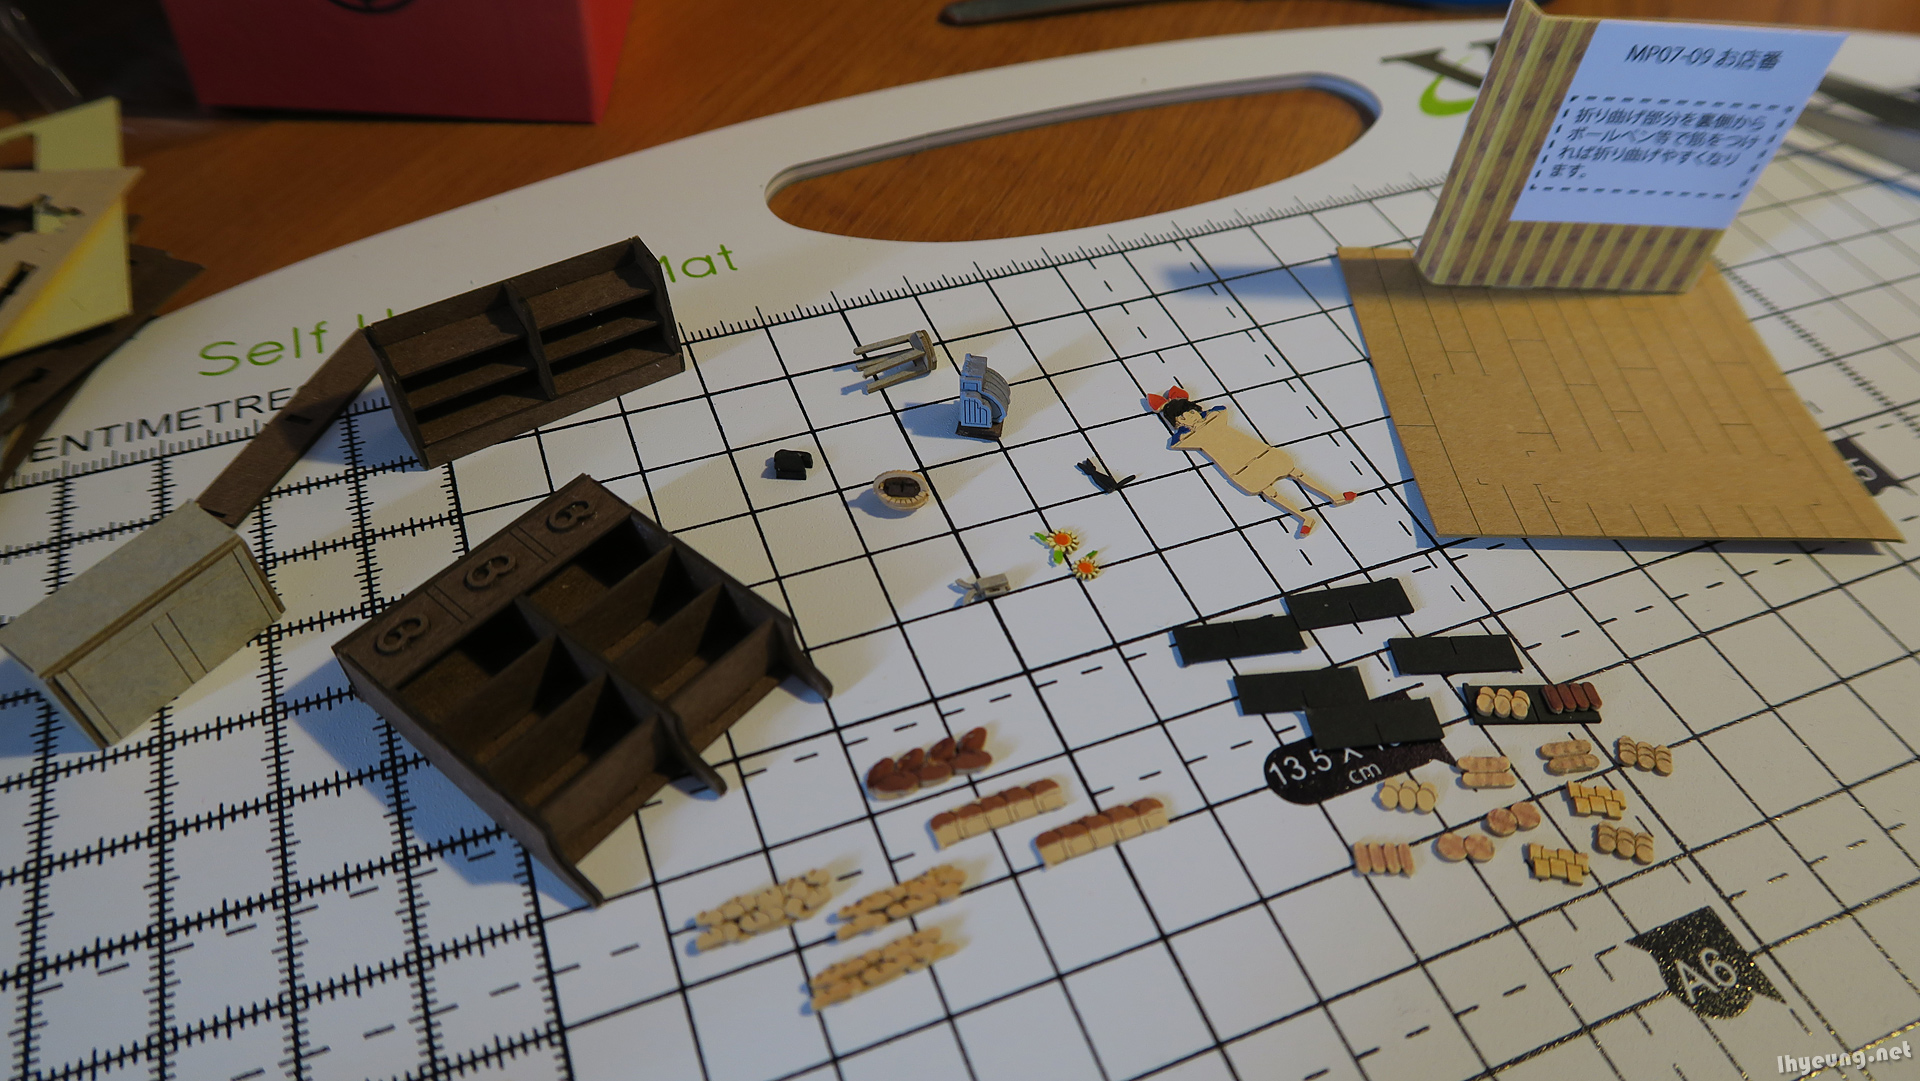
All the tiny objects like the till are made from multiple layers to give them depth and stability.
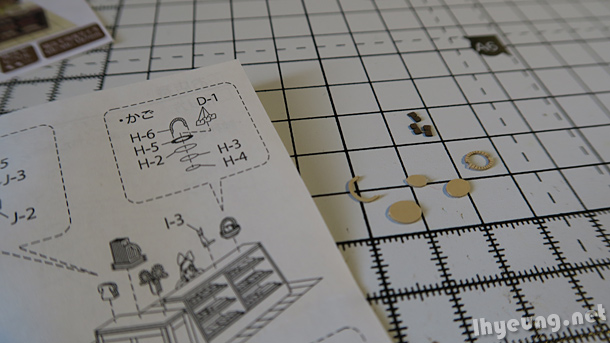
Putting this little basket together wasn't easy... Especially the handle.
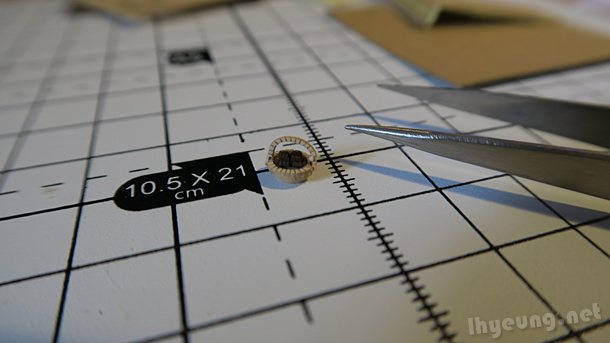
I doubt you can put those tiny bread into the basket without tweezers and position them nicely. As you can see, it's less than 5mm big!
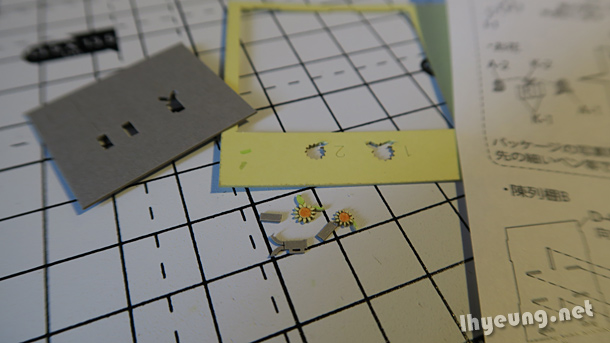
Flowers weren't easy either. The stems are tiny! Very hard to put glue on nevermind attach the flowers. Luckily I only had to lightly touch the glue I used on the tip of the stem and it was enough to hold up the flower heads.
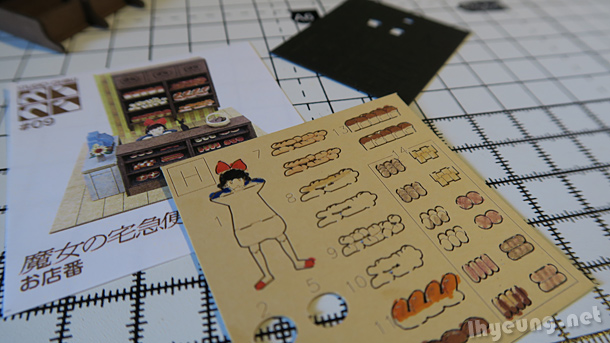
I know I said coloured pencils would be better the last time but, the colour just wasn't deep enough to match the furniture. I also forgot there's a technique you can use - masking. Simply get some scrap bits of paper and cover the parts you don't want to accidentally colour before adding colour. I just used the spare cut out stencils.
Model might look great in the reference picture but rendering the bread to look as good is probably impossible unless you're a graphics artist - which I'm not. So I just coloured them brown and then used coloured pencils for a bit of lighter texture ^^;
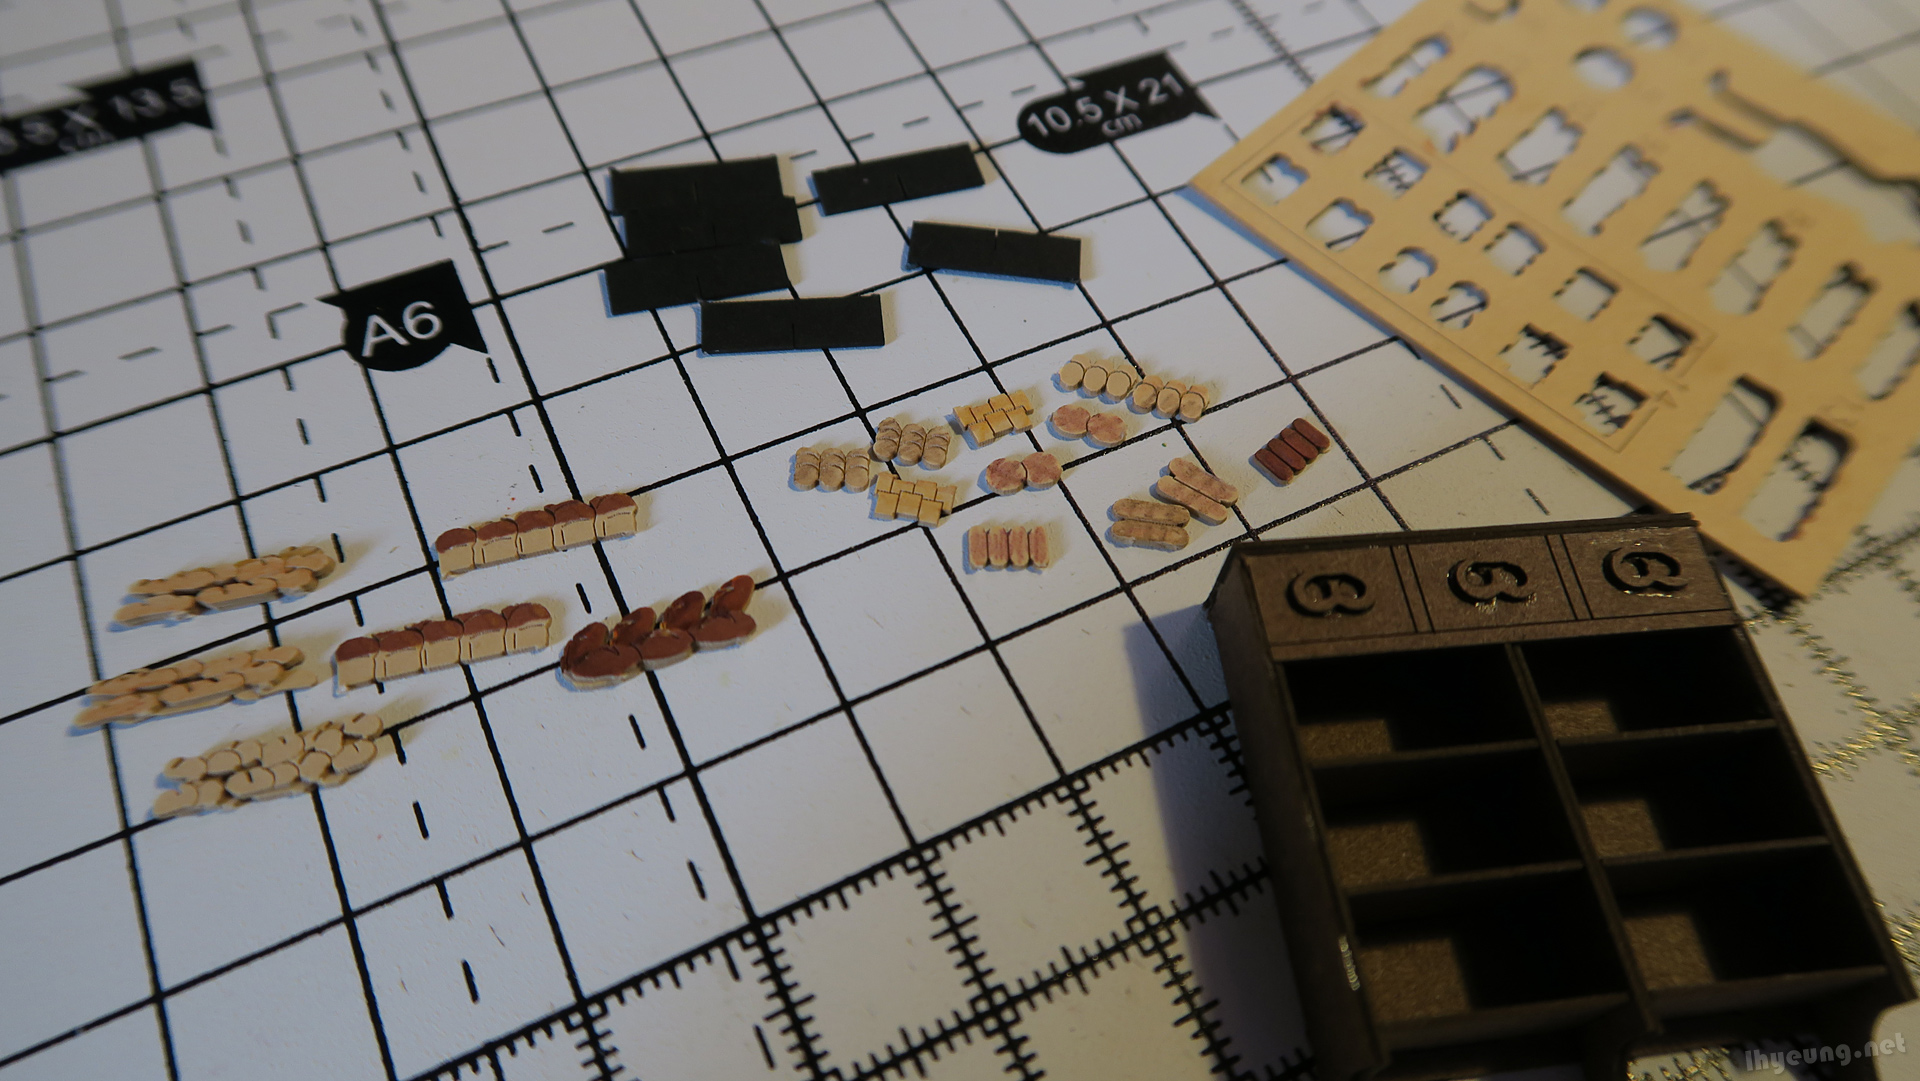
Took a fair bit of time rendering all the bread, cutting them out then gluing them together.
For the wall you actually had to cut out the wallpaper then glue it onto another piece of card. Then it slots into the wooden textured floor.
So all the furniture and props were ready. Now to put it all together.
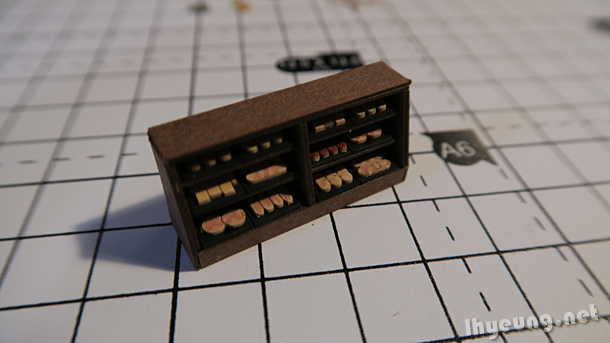
Putting in the bread in the front shelf was simple. After gluing the bread onto trays, you could easily slide them into place with tweezers.
Now here's why I said not to put the rear shelf together fully. Some of the bread is supposed to be stuck on the edge of the shelf rather than get placed all the way at the back. Gives the illusion of a fully stocked store.
The problem here was even with tweezers you can't hold the bread correctly to position them on the edge once the cupboard has been fully assembled like this... So I guess gluing the bread on the shelves first then assemble the cupboard together!
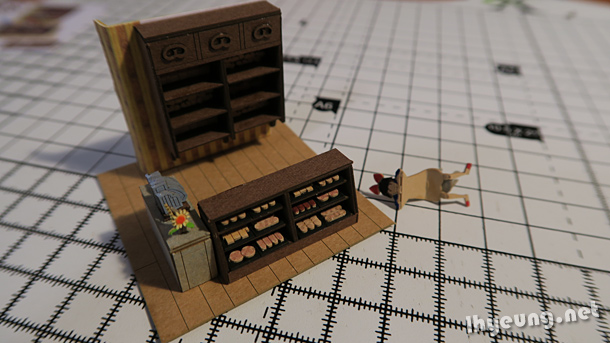
Doesn't look so great when the bread isn't out at the edge in the back, does it? =/
Also, I suggest waiting for the glue to dry once you've stuck the big shelf at the back or it might end up sliding down a bit and reveal the white placeholder at the back...

Kiki was hard to "seat" into position. You had to bend the card a various parts and it felt so fragile! Eventually I just left it as is.
And yes, the seat is glued to her butt, lol.
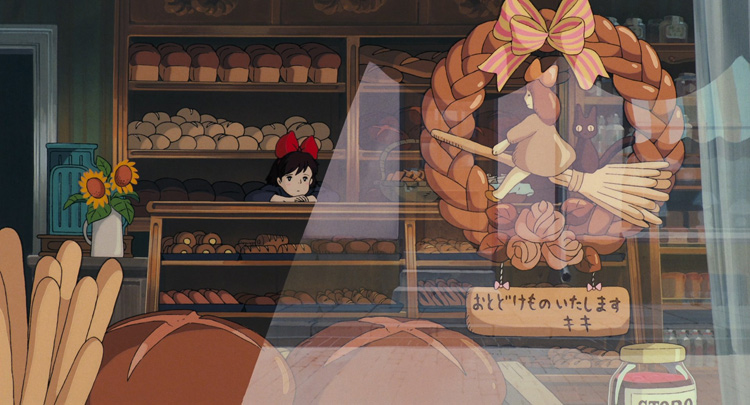
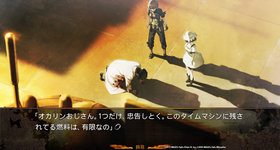
Here's a screenshot from the movie for reference... Not exactly the right angle but it does feature the scene this model represents along with all the items in the bakery.
So, apart from the cupboard at the back, it actually doesn't look too bad!
I think the difference between 1 and 2 star rating is there were lots more tiny pieces to cut out and put together. All the bread, the basket, till, flowers needed to be cut out and there were lots of them. Then there was all the aligning for the cupboards too but other than that it wasn't too bad.
Just don't follow the instructions and put the rear cupboard fully together before adding the bread in!
Tips
- If are using ink to add colour then I suggest using some of the scrap cardboard as masks to cover up the areas you don't want to add the wrong colour too. Makes it much easier to render.
- Don't put the rear cupboard fully together until you've glued the bread to the front of the shelves as shown in the reference photo. Otherwise it's not going to look like a happier, fully stocked bakery ^^;
- After gluing the rear cupboard, let it dry a bit first before putting it upright or it could end up sliding down a bit.
- The flowers only need a touch (literally) of glue to put the flower heads in place.

No comments