Putting Together a Sankei Miniatuart Ghibli Papercraft - No. 5 Totoro
When I bought a bunch of Ghibli papercrafts back from my trip to Japan I wasn't really expecting them to be hard to put together. I saw the difficulty rating that ranged from one to three stars and this was one star so I thought, "How hard could it be?" If I read the bottom of the box I probably would have known better ^^;
So, I decided to put this post together show casing one of the kits by Sankei. There are actually quite a few around by different manufacturers but I think the one thing all the small ones have in common is the price... At 18GBP, they are not cheap.
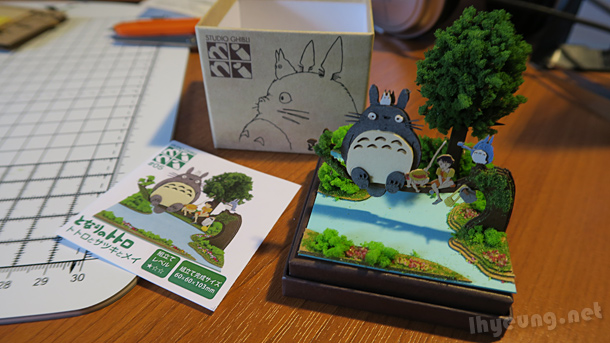
For my first attempt I went with number 5 in the mini series, a Totoro one I bought when I visited Ghibli Museum (you can get these from chain Loft department stores, Donki Quijote, or online via Rakuten, Amazon Japan). Difficulty level was one star. For a complete amateur who was doing this the first time it took 5 - 6 hours of time so, be prepared to leave a day free for it, lol.
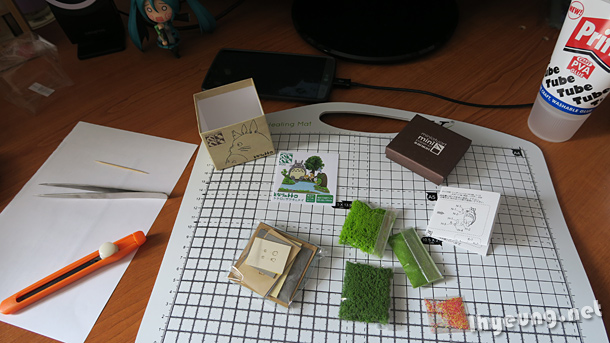
What you'll need...
- Retractable Blade / Papercraft Knife
For cutting out the tiny parts from the cardboard. You might want a proper papercraft knife instead of the retractable ones you use to cut open packaging because you will want to press the knife into the cardboard rather than slice. The retractable one I used kept retracting and didn't clean cut the pieces very well. - Scissors
For opening the small packs of confetti that is used for the vegetation such as bushes, grass, trees and flowers. You'll be using to cut a tiny hole in the bags if you don't have those little tubes some crafters use to hold glitter so that it's easier to sprinkle. - PVC/PVA Glue
For well... glueing it all together. PVA will give you more time to adjust after you've put the pieces together. Translucent glue i.e. glue that's transparent would be good because then you can't see it if you applied too much. - Toothpick(s)
Or whatever you can use to apply tiny, needle point sized dots of glue. - Coloured Pencils
I don't recommend felt tips or ink based colours because the ink can spill to onto parts you the card. - Tweezers
To pick up and move the tiny (and I mean tiny!) parts into place. - Self-healing Cutting Mat (Optional)
Basically a mat you can work on without worrying about damaging your table top when you're cutting. The self-healing means even when you cut through the paper and into the mat, the mat will slowly heal itself again. - Display Case (Optional)
After spending hours putting the miniature together you'll probably want something to proudly display it in and to give it some protection. Small display cases don't cost much, especially the one's that don't use glass.
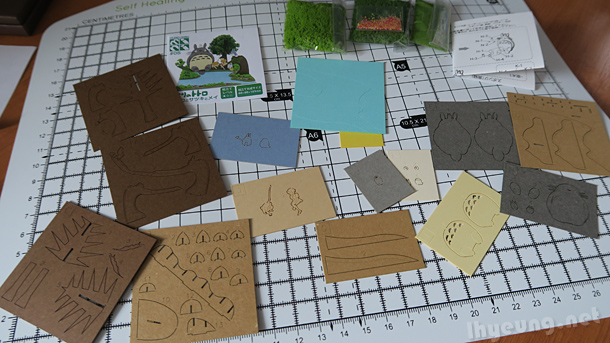
Upon opening any of these kits, you'll find all the paper stencils that you'll have to cut and detach yourself with a cutting tool. Some of these are tiny! Totoro's eyes and feet are all just a few millimetres big.
No wonder they had to use lasers to cut them!
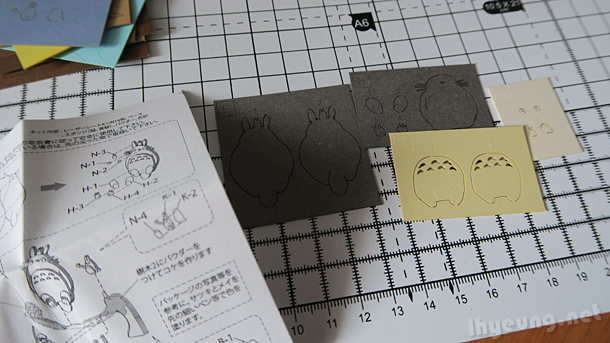
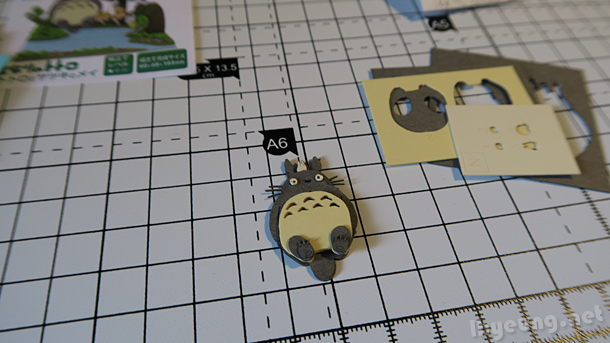
Started off with Totoro because he was first on the instruction sheet and seemed the easiest.
Cutting out the card is quite hard with the tiny joints. I found pushing into the card with a few cuts was easier than trying to slice across the joints.
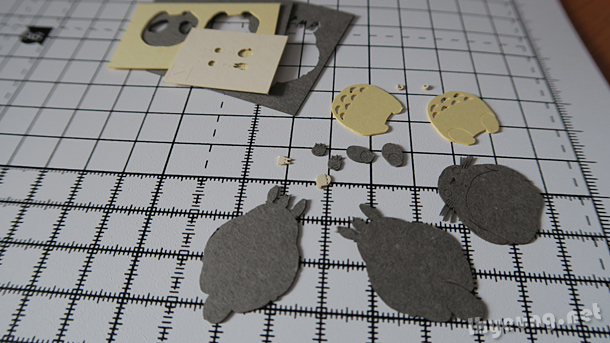
Hard to control the amount of glue.
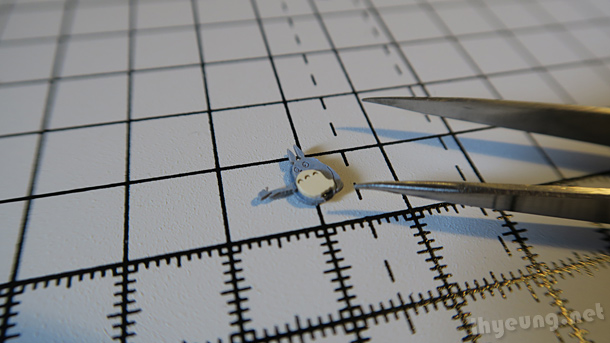
Just tipping the tip of a sharp toothpick was enough for the really tiny pieces like this.
All the objects were made up of multiple layers to give that 3D look. They also had a little protruding part for sticking onto the base of the model.

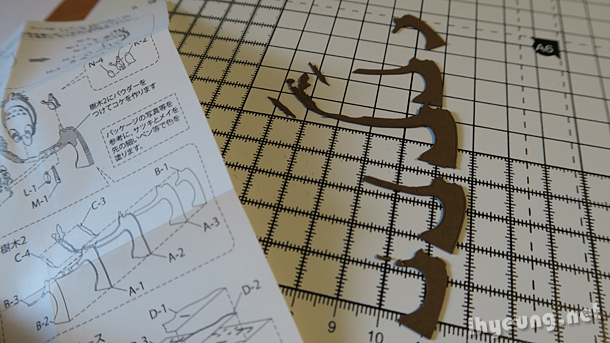
This was going to be the tree branch the gang chilled out on. You need a steady hand to put the tiny pieces together like the little branch sticking out here that is used as a hook for the bucket and bag later.
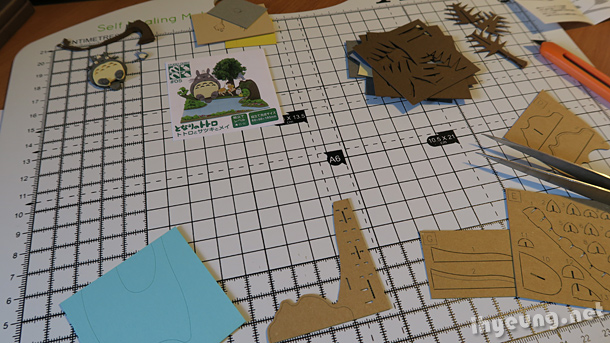
So far so, good. Putting the base together now.
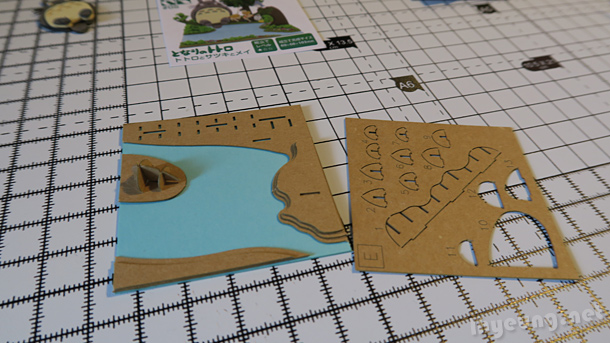
It's mostly easy to put together... Apart from all those smaller pieces used to hold the bushes together at the back. Cutting them out took a lot of time.
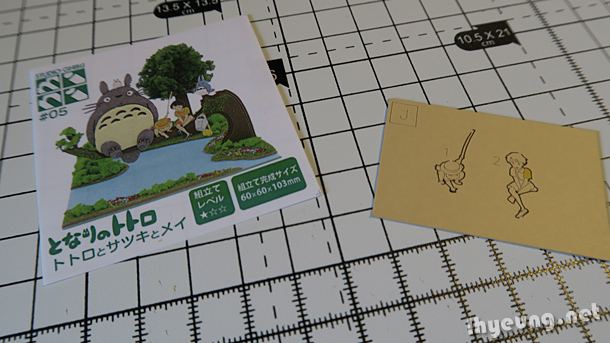
The sisters aren't coloured so you add it yourself using the box photo as reference.
Or you can just go crazy and use random colours =P
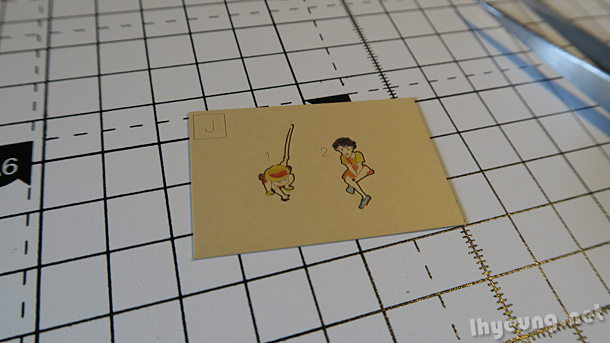
At first I tried fine line marker pens because I wanted a deeper, denser finish but it didn't workout too well. The ink ended up spreading to other parts like the little bit of red colour from Mei's dress spilling over onto her knee or her hat where the thin ribbon's colour went onto the hat.
Luckily you don't notice it too badly from a distance...
I think the last time I did any kind of craft like this was waaay back when I was a 6 year old kid. They probably still do it in nursery and primary school. It was the no video game console days so I would use my imagination to make things out of Lego and scrap paper, building 3D paper houses.
But anyway...
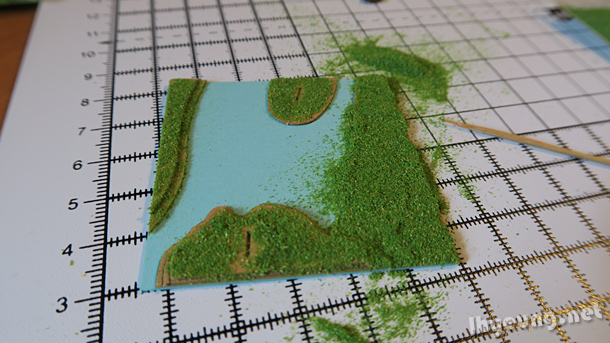
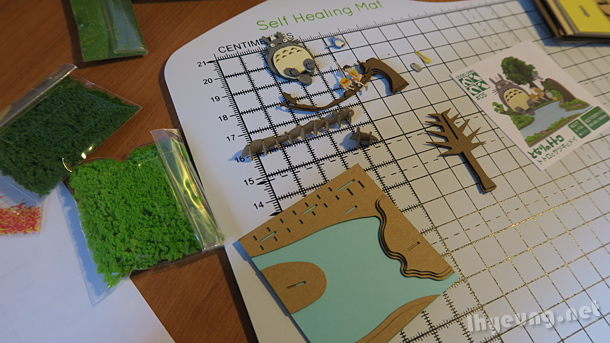
I chose to add the grass first before putting all the assets on so they weren't in the way. You have to be careful not to cover the small slits where the assets will be slotted into though.
Adding the green powder as grass was easy enough. Spread some glue thinly over the card and just sprinkle over it. Afterwards, use something like the long edge of a toothpick to brush it all out evenly.
You don't have to cover the ground perfectly because the brown card can act like soil. Personal preference really.
Just don't sniff the green powder or sneeze =P
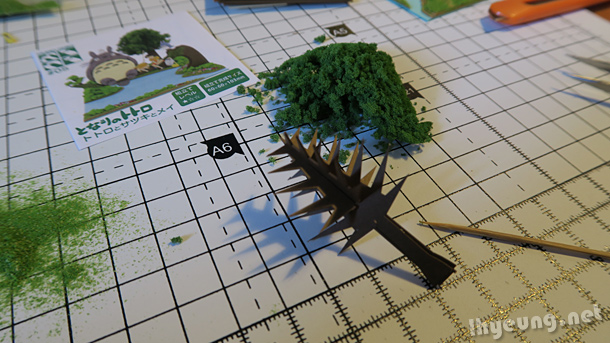
Now the really fun (and hard) part... Creating those bushes and leaves.
The first few bits of sponge was easy to stick on because like the grass, all I had to do was spread some glue onto the card tree then sprinkle the sponge over it.
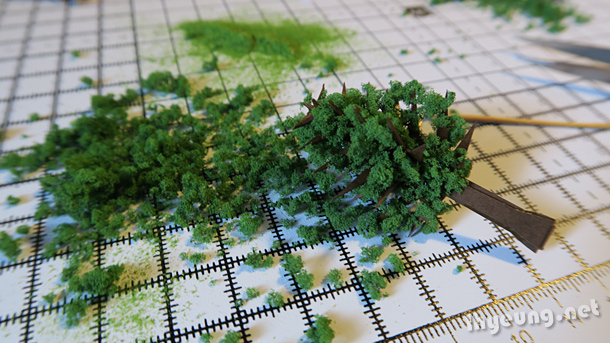
Rest wasn't so easy and took me some trial and error. YouTube videos showed dipping the bits of sponge into the glue and sticking them on bit by bit but this didn't work quite well for me. The sponge tore off mostly...
So, what I did instead after sprinkling on the first bits of sponge, I just squeezed small amounts of glue directly onto the sponge that was already stuck on. Then I sprinkled some more, pressing down on them gently to push them into the glue. Since the glue was translucent, you don't actually see it.
Uses more glue than just dipping them bit by bit but, much easier for me! Fortunately, the kit comes with a generous amount of green sponge so I after the first method failed I still had enough to cover the tree ^^;
Probably going to be proudest part of this model considering how hard it was to put together, lol.
I'm actually not sure where this model came from. Maybe it's a cover image for the movie?

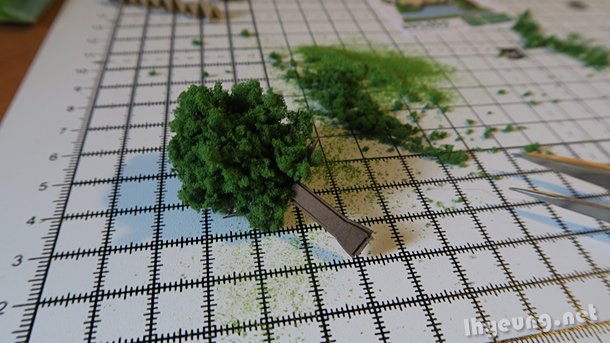
Anyway, now to put everything onto the base. I actually had a hard time putting the assets into the slits so I added some glue in to hold them in place.
Also added some of the grass powder onto the big branch as some moss. Originally I added some of the dark green sponge on because I thought it would look better but, didn't quite work out. I picked the sponge off but not completely before I sprinkled some grass on and the end effect actually looked quite nice. Like a bunch of leaves mixed with some moss.
The bag didn't hook quite so well like in the reference picture but, it wasn't too bad. Both Totoro and Chuu-Totoro on the other hand didn't need any glue at all. They just slotted on. Tweezers helped.
Then to finish off we add some bushes using the light green bits of sponge and some coloured little confetti to act as flowers. By now the grass powder have dried enough to apply some glue on top without removing too much off it in the process. Then you can just sprinkle the sponge and coloured confetti over the spots of glue where you want flowers.
Personally, I don't like glitter because it gets all over the place so it wasn't very exciting, lol.
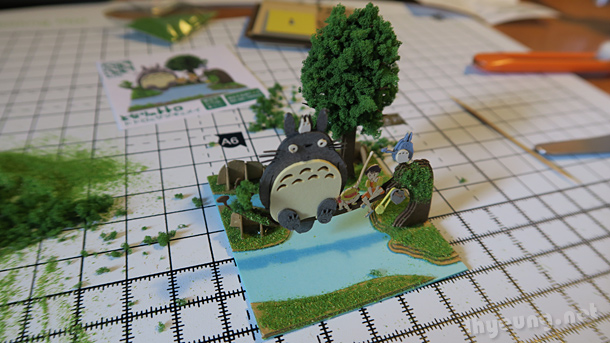
And voila! The finished model. Damn, it looks awesome ^^

WYU
LHY Author
Dane
I absolutely love these Sankei kits, having put together several in 1/150 and 1/220 scale. Yes, they are difficult. The Glover House took me over 24 hours to assemble (with interior lighting). Most have been smaller, each with its own complications. The results are being built into dioramas.
LHY Author